Hey there, fellow craft enthusiasts! I'm stoked to share my passion for creating patterns with glass seed beads. As a supplier of these tiny, dazzling gems, I've seen firsthand the endless possibilities they offer for crafting unique and beautiful pieces. Whether you're a seasoned beader or just starting out, this blog post will guide you through the process of creating stunning patterns with glass seed beads.
Getting Started with Glass Seed Beads
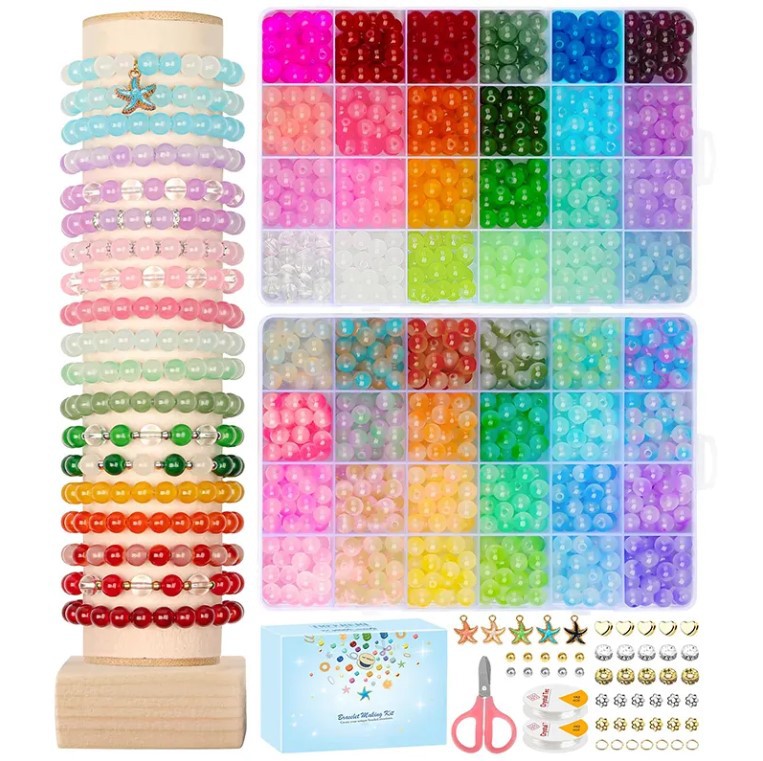
First things first, let's talk about the different types of glass seed beads available. We offer a wide range of sizes and colors to suit every project. For instance, our 2mm Glass Seed Beads are perfect for intricate designs and detailed work. They're so small that you can create really fine patterns, almost like painting with beads.
On the other hand, if you're looking for something a bit larger, our 6mm Glass Seed Beads are a great choice. These beads make a bold statement and are ideal for creating chunky, eye - catching patterns. And then there are the Glass Seed Beads 8 0, which are a popular size in the beading world. They strike a nice balance between being small enough for detailed work and large enough to work with easily.
Tools You'll Need
Before you start creating patterns, you'll need a few essential tools. A good pair of beading needles is a must. They come in different sizes, so make sure to choose one that's appropriate for the size of your beads. Thread is also crucial. Nymo thread is a popular choice among beaders because it's strong and durable. You'll also need a pair of wire cutters to trim the thread and a pair of pliers for any wire - related work if you're incorporating wire into your design.
Basic Stitches for Pattern Creation
There are several basic stitches that form the foundation of most beaded patterns. The Peyote stitch is one of the most common. It's a flat stitch that creates a smooth, even surface. To start a Peyote stitch, you thread a few beads onto your needle, then pick up a new bead and pass the needle back through the last bead you added. You keep repeating this process, and as you go, you can start creating patterns by changing the colors of the beads.
Another popular stitch is the Brick stitch. It's similar to the Peyote stitch, but the beads are arranged in a brick - like pattern. This stitch is great for creating geometric patterns and adding texture to your work.
Designing Your Pattern
Now, let's get into the fun part - designing your pattern! The first step is to decide on the theme or style of your project. Are you going for a floral pattern, a geometric design, or something more abstract? Once you have an idea in mind, you can start sketching it out on paper. Use graph paper to make it easier to plan the placement of your beads.
You can also use online beading pattern generators. These tools allow you to experiment with different colors and bead arrangements without having to use actual beads. They're a great way to visualize your design before you start beading.
Color Combinations
Color is a crucial element in creating a beautiful pattern. You can go for a monochromatic look by using different shades of the same color. This creates a sophisticated and elegant effect. Complementary colors, which are opposite each other on the color wheel, create a bold and vibrant contrast. For example, pairing purple and yellow beads can make your pattern really pop.
Analogous colors, which are next to each other on the color wheel, create a harmonious and calming effect. For instance, using shades of blue and green together can give your pattern a serene, nature - inspired feel.
Advanced Techniques
Once you've mastered the basic stitches and pattern - designing skills, you can start exploring more advanced techniques. One such technique is bead embroidery. This involves stitching beads onto a fabric base to create a raised, textured pattern. You can use different types of stitches and bead arrangements to add depth and dimension to your work.
Another advanced technique is bead weaving with multiple threads. This allows you to create more complex and intricate patterns. You can work on different sections of your design simultaneously, which can save time and give you more control over the final result.
Tips for Success
- Organize Your Beads: Keep your beads organized in small containers or bead trays. This makes it easier to find the beads you need and prevents them from getting mixed up.
- Take Breaks: Beading can be a time - consuming and detail - oriented activity. Take regular breaks to avoid eye strain and hand fatigue.
- Practice, Practice, Practice: Don't be afraid to make mistakes. The more you practice, the better you'll get at creating patterns with glass seed beads.
Using Glass Seed Beads in Different Projects
Glass seed beads can be used in a wide variety of projects. You can create jewelry, such as necklaces, bracelets, and earrings. They're also great for making home decor items like coasters, wall hangings, and even ornaments. You can use them to embellish clothing or add a touch of sparkle to a handbag.
Connect with Us
If you're interested in purchasing high - quality glass seed beads for your next project, we'd love to hear from you. As a trusted supplier, we offer a wide selection of beads at competitive prices. Whether you're a hobbyist or a professional crafter, we have the beads you need to bring your creative vision to life.
Get in touch with us to discuss your requirements and start your next beading adventure. We're here to help you every step of the way!

References
- "The Complete Beadwork Bible" by Wendy Lane
- "Beading for Beginners" by Sarah Smith
- Online beading communities and forums


